Configure OAuth2 with Microsoft Azure portal 2019
The administration platform allows you to use a Microsoft account for OAuth2 authentication. The corresponding procedure is detailed in this document.
Prerequisites
To set up OAuth2 with a Microsoft account, you need:
Access the portal
Log on to the Microsoft Azure portal.
Register your application
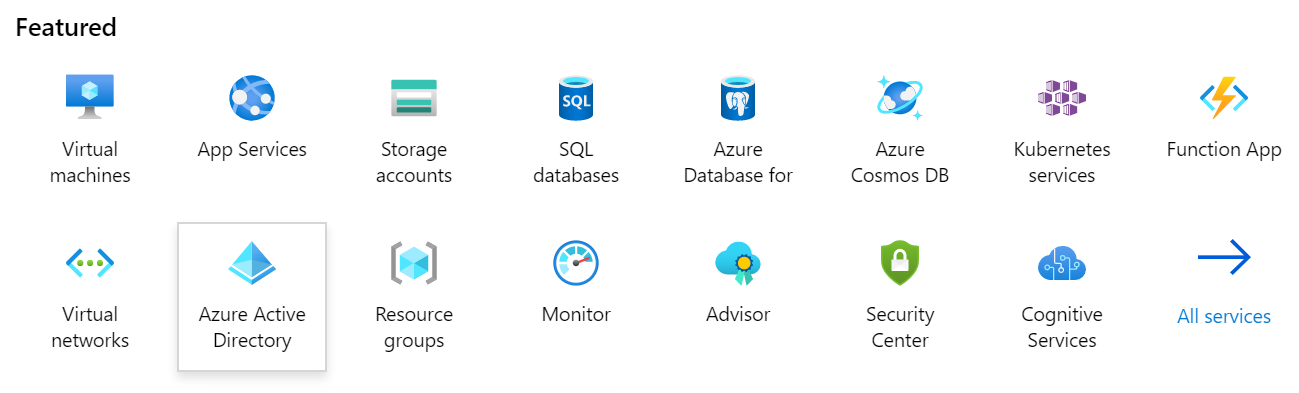
- From the Portal home, click the Azure Active Directory icon.
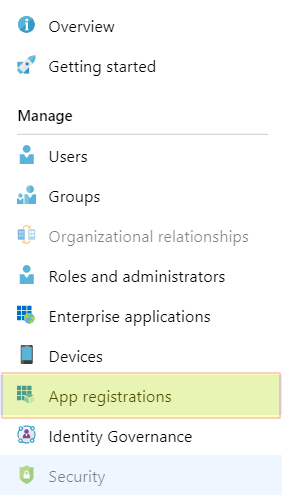
- Then click App registrations.
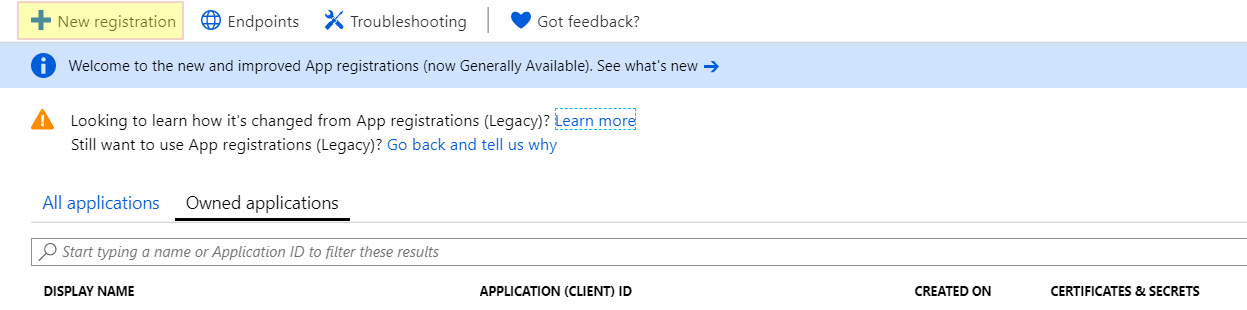
- Click New registration.
- Fill in the form with the:
- Name
- appropriate Supported account type
- Redirect URI
In the sample below, azuread is the name of your Sage X3 OAuth2 configuration.
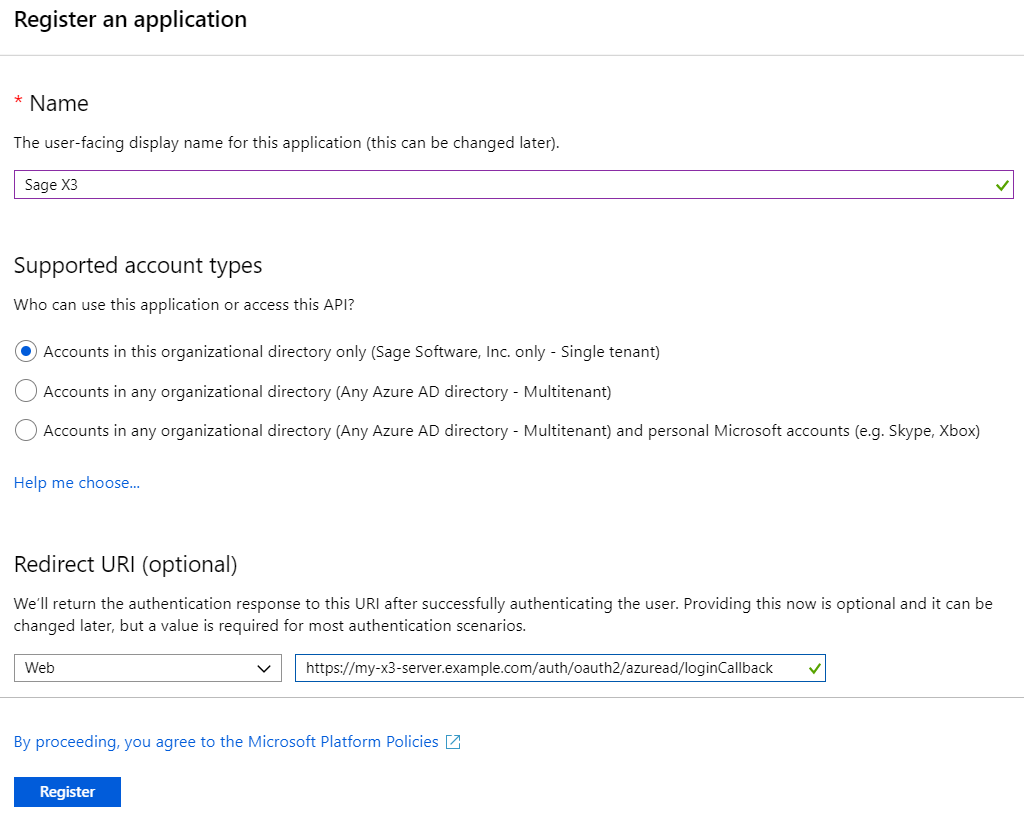
- Then click Register and select the new application that appears in the list.
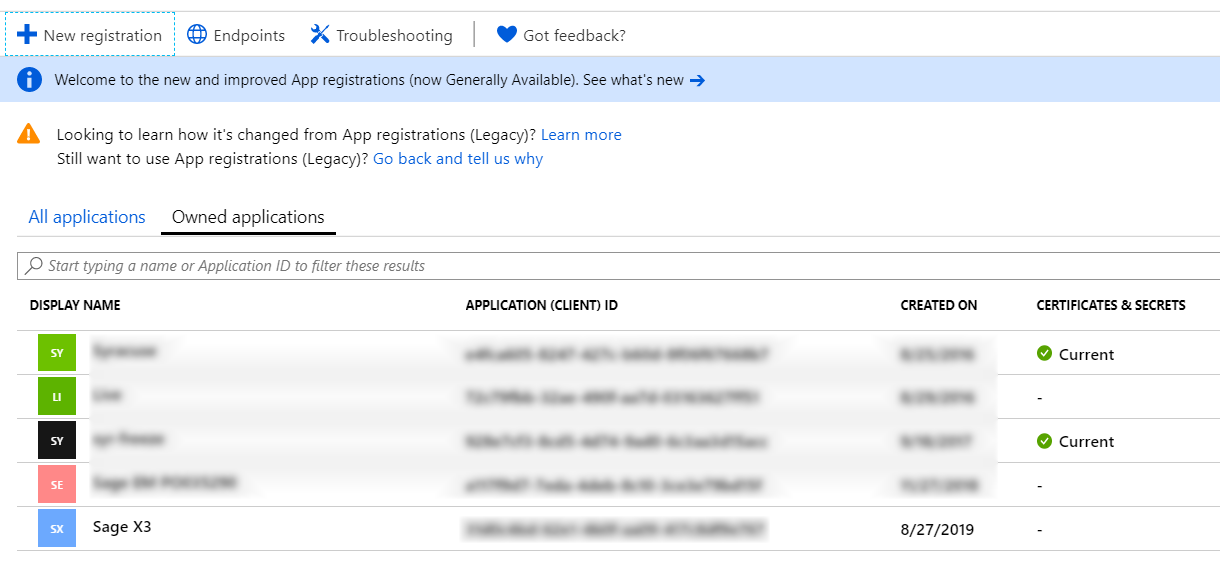
- Click API permissions.

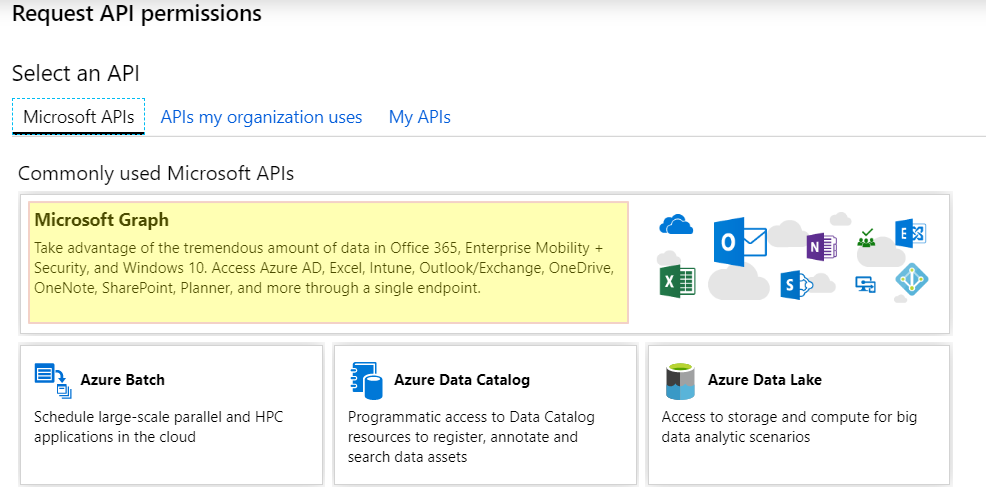
- Click Add a permission.

- Select Microsoft Graph.
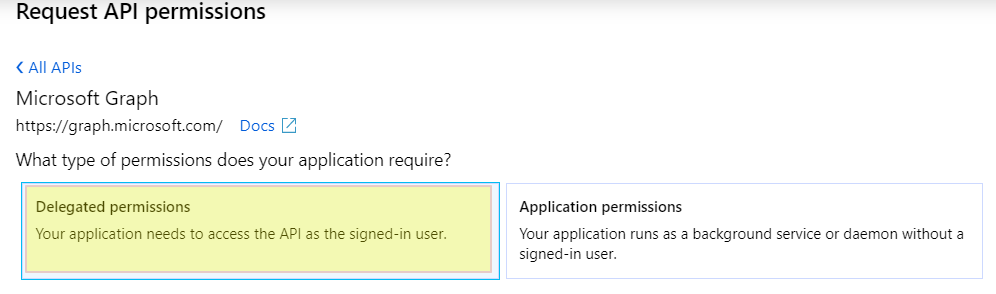
- Then select Delegated permissions.
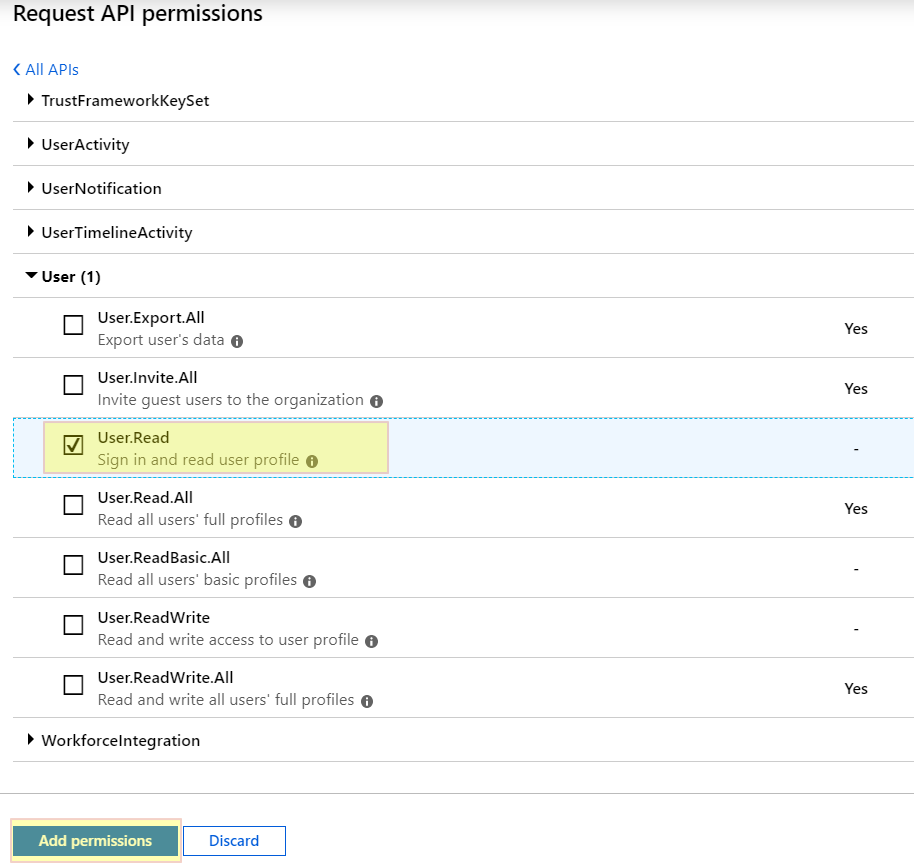
- Scroll down to find and select User.Read and click Add permissions.
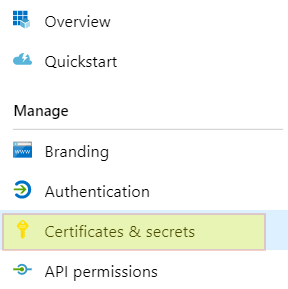
- Then click Certificates & secrets.
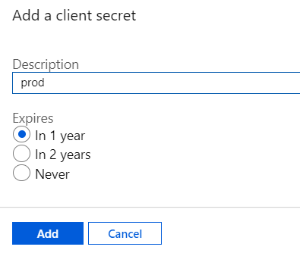
- Click New client secret to add a new secret.

- Then enter a Description, select the desired expiration and click Add.
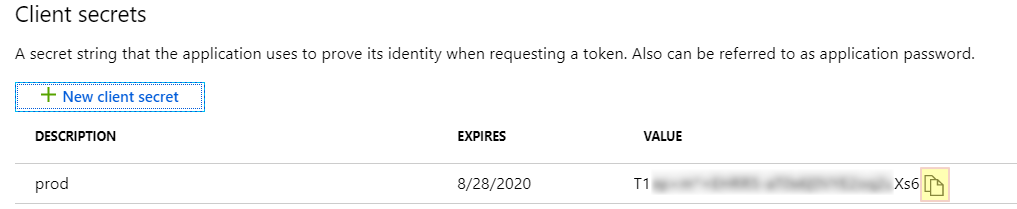
- Then copy the secret value to the clipboard and keep it safe. You will need it to configure the OAuth2 server in Sage X3.
- Click Overview to get the additional information you need to configure the OAuth2 server in Sage X3:
- Application (client) ID
- Optional Directory (tenant) ID if you choose the single tenant organization
- Object ID

- Go to the OAuth2 settings in Sage X3 (Administration > Administration > Settings > Authentication > OAuth2 Servers) to configure your OAuth2 server. In the configuration below replace:
- clientID with the application ID
- tenantID with the tenant ID or common if you choose a multitenant account type
- Name: azuread according to this example
- URL for authorization: https://login.microsoftonline.com/tenantID/oauth2/V2.0/authorize
- URL to get access token: https://login.microsoftonline.com/tenantID/oauth2/V2.0/token
- OAuth2 client ID: clientID
- OAuth2 client secret: the client secret previously saved
- Scope for OAuth2 requests: User.Read
- URL for requesting user data: https://graph.microsoft.com/v1.0/me
- User field in user name answer: userPrincipalName
Note: For further information, consult the Microsoft identity platform and OAuth 2.0 authorization code flow documentation.