Local Crystal Report development
The first prerequisite is of course to have Crystal Designer installed in one of the following versions: 2013 or 2016.
You also need to create the relevant ODBC data source on your PC if you want to access to the database through Crystal Designer (at least to add a table to a report, or to add a column to a given query).
Then, you need to install the CR connector plugin in your browser by following a link in the Utility / Installation path of the Administration menus.
A dedicated ODBC datasource is now automatically created on your desktop by the connector, mapped on the database of the current endpoint. The datasource name is ADX CRCNN solname, with solname which represents the name of the solution of the current endpoint.
Of course you could create and use your own ODBC datasource, but if you are not comfortable with datasource creation, we recommend using the one created by the connector.
If you are using Crystal Designer 2013 or 2016, we recommend to install the optional feature named Data Access/ODBC Datadirect of the Crystal Designer setup, in order to work with the latest version of the CR ODBC Drivers.
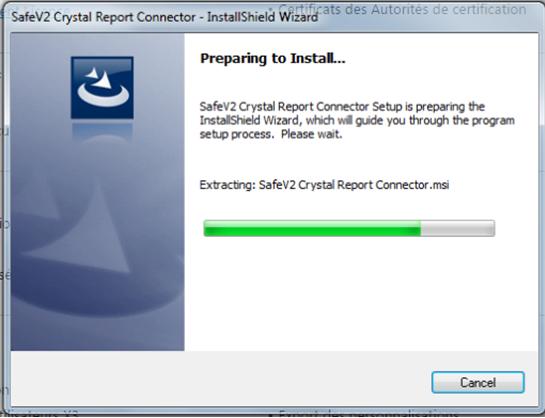
The following screen appears during the download:
Then an installation procedure starts:

By clicking successively on Next, the installation completes.
Finally, there is one last prerequisite to be able to edit future reports. To use the Transfer development mode, add your printer destination in the X3 folder. Indeed, you need to have your folder published on the print server before using this tool.
There is no longer a session switch to Report Development mode.
The user parameter DEVCRY still remains, but it can have three values:
At the very first use of the connector, through the GESARP function, you might have a pop up asking for confirmation, like the following one:

If you want to avoid the display of this pop up in the future, don't forget to check the Remember my choice box.
Editing a report starts from the report editor (classic page function GESARP). A contextual menu on the line that displays the report allows you:
Each time you save locally from the report designer, a version of the report is automatically saved in the sandbox of the corresponding Report server. This allows you to test immediately the results of your modified report through the AIMP classic function. However, this option is available only for the user who edits the report; the other users continues to use the standard report as long as the commit has not been done.
See the dedicated help page of GESARP function for more details regarding report modification workflow.
Creating a new report requires you to upload the new report first in the REPORT storage area on the application server. This can be done either from scratch, or by starting from a template that needs to be downloaded to the local PC, renamed, and uploaded.
The report can then be edited from GESARP function through the connector.
See the dedicated help page of GESARP function for more details regarding report creation workflow.
Users musn't modify the report in the X3 reference folder because future updates in Sage X3 would overwrite their changes.
If the report exists, the ADMCA user (or a user with access) must:
- download the report from the X3 reference folder,
- upload it to the child folder.
The report in the child folder is the one the users should be modifying.
The user will get an error in the transfer option if:
- he doesn't have rights to the X3 reference folder,
- the report hasn't previously been uploaded to the child folder.
Please refer to our dedicated Standard Crystal Reports Modification guide.