
Sage X3 Services installation
This document provides information on how to set up and check the server environment for Sage X3 Services. There are two main steps:
You need to install Sage X3 Services to use Mobile Automation (ADC) for distribution.
Important: Use a PowerShell prompt with administrator privilege for all the commands below.
The Sage X3 Services component requires at least Sage X3 2021 R2 (V12) installation using a Microsoft® SQL Server or an Oracle database.
You must install it on a Windows Server 2016 or 2019 operating system.
The Sage X3 Services component is not available on Linux.
'hostname':'port' combinations used by client devices to reach the application must also be reachable by the X3 Services server and correctly defined in Syracuse.
You need to have one of the following badges associated with your user:
Follow these steps to install Sage X3 Services:
clientId and secret with your own values.secret must have at least 20 characters. Go to the lastpass or passwordsgenerator websites to generate a strong secret.loginUrl with the public URL of your server.loginUrl: https://public-syracuse-server.example.comsyracuse:clientId: create-your-own-client-id-uuidsecret: change-to-use-a-strong-secret-for-your-client-idNote: Respect the rules regarding special characters like backslashes in YML files. You can learn more on this topic on the yaml.org website.
[...] markers.exports.config = {[...]etna: {security: {clientId: "create-your-own-client-id-uuid",secret: "change-to-use-a-strong-secret-for-your-client-id"}}[...]};bearer authentication mode enabled in in the list of authorized auth methods in the nodelocal.js file.exports.config = {[...]session: {auth: ["oauth2", "bearer"],}[...]};PS D:\SageX3\x3-services> .\uninstall.ps1
PS D:\SageX3\x3-services> .\install.ps1Install complete.Start complete.PS D:\SageX3\x3-services>This command creates a Sage X3 Services Windows service. Make sure that the
Install complete and Start complete messages return.invoke-webrequest http://localhost:8240/ping and make sure that StatusCode : 200 is returned.PS D:\SageX3\x3-services> invoke-webrequest http://localhost:8240/pingStatusCode: 200StatusDescription : OKContent : {}RawContent: HTTP/1.1 200 OKVary: Accept-EncodingConnection: keep-aliveKeep-Alive: timeout=5Content-Length: 2Content-Type: application/json; charset=utf-8Date: Wed, 04 Nov 2020 17:01:56 GMTETag: W/"2...Forms : {}Headers : {[Vary, Accept-Encoding], [Connection, keep-alive], [Keep-Alive, timeout=5], [Content-Length, 2]...}Images: {}InputFields : {}Links : {}ParsedHtml: mshtml.HTMLDocumentClassRawContentLength : 2
This step is not mandatory.
By default, port 8240 is used. You can change this by editing the xtrem-config.yml file to add the port parameter with another value. Then restart the service.
Example
port: 8765storage:managedExternal: true
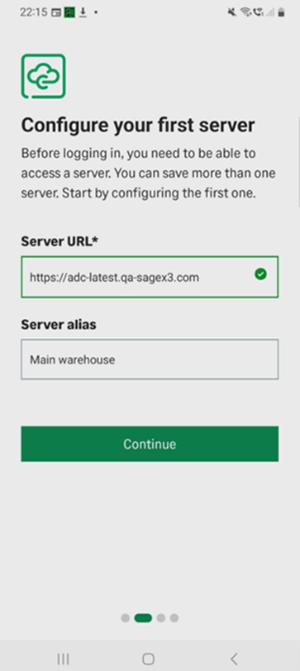
You need to configure the X3 solution in the Syracuse administration pages for the Sage X3 Services connection to work with your Sage X3 application.
Depending on the Sage X3 application database type, you need to configure an SQL Server service or an Oracle service.
Go to All > Administration > Administration > Endpoints > SQL Server service and edit the following fields:
| Field | Description | Example |
|---|---|---|
| Description | Description of your service that identifies it uniquely | SEED MSSQL service |
| Instance name | Database server host name or IP followed by the instance name if any | localhost localhost\myInstance |
| Database name | Name of the database used by the endpoint | sagex3 |
| User | Name of the user to connect to the folder | SEED |
| Password | Password for the database folder | Str0ng-seed-pwd |
Go to All > Administration > Administration > Endpoints > Oracle service and edit the following fields:
| Field | Description | Example |
|---|---|---|
| Description | Description of your service that identifies it uniquely | SEED Oracle service |
| Host | Database server host name or IP | localhost |
| Port | Database server port | 1521 |
| SID | Oracle SID | SAGEX3 |
| User | Name of the user to connect to the folder | SEED |
| Password | Password for the database folder | Str0ng-seed-pwd |
Once you have created the appropriate SQL server or Oracle service, edit the X3 solution to fill in the following fields:
| Field | Description | Example |
|---|---|---|
| Sage X3 Services URL | URL of the Sage X3 Services installed in the previous steps | http://localhost:8240 |
| SQL service | Select the SQL server or Oracle service created in the previous step | SEED mssql service |
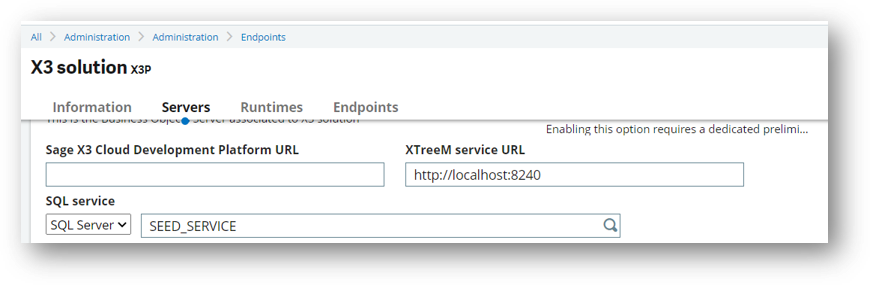
Note: If the Sage X3 Services URL is not displayed, select the Default authoring.
You need to configure and start a SOAP pool for the X3 endpoint that will be used by Sage X3 Services integration. For further information, consult the Classic SOAP pools configuration documentation.
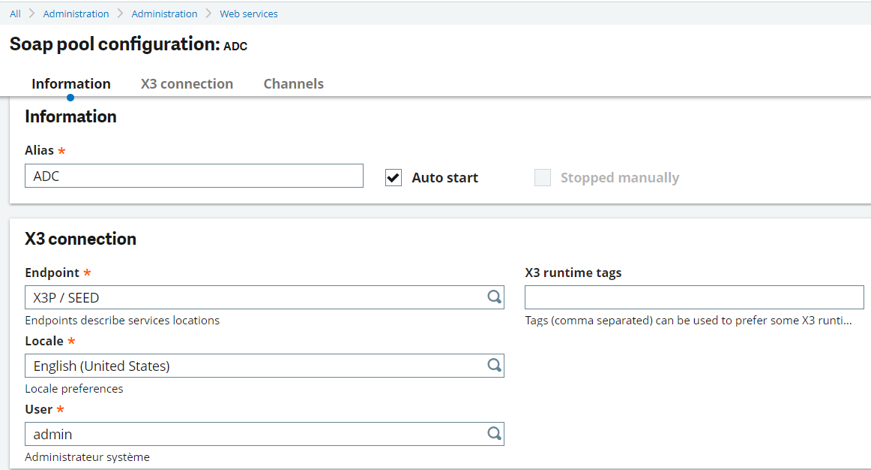
Note: If you have multiple SOAP pools for a given endpoint, the first one is used.
Important: Restart the Syracuse agent service to reload the nodelocal.js configuration.
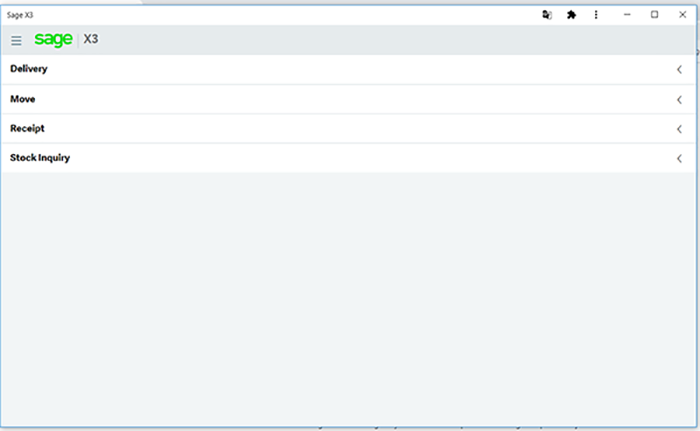
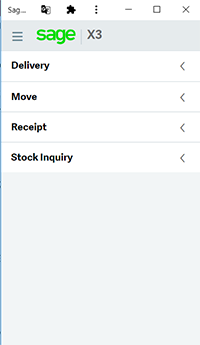
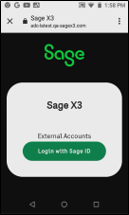
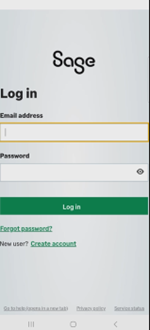
Open the handheld page: https://loginUrl/handheld/
Example: https://syracuseserver:8124/handheld/


Note: This section is relevant only if you open the handheld application on a PC.
You need to size the screen correctly to replicate a width between 3.5 and 6 inches.


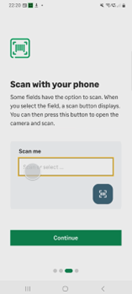
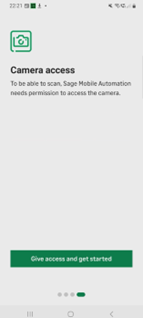
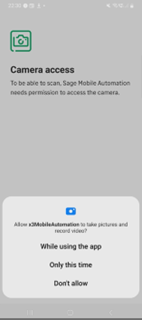
Chrome is the recommended browser for Sage X3 Services because the web view embedded in the web application uses Chrome for scanning and the camera.
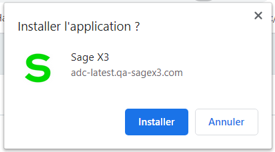
Chrome is the only browser that works well if you use a scanner. You can use other browsers such as Edge for demo purposes as long as you do not use the scanner since it is not supported outside of Chrome (Settings and more > Applications > Install the site).
Note: Sage does not provide the devices.
The required operating system is Android version ≥ 8.0.
Screen size:
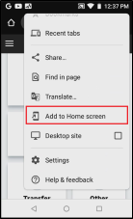
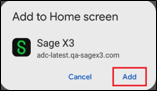
 Handheld scanners:Select or scan the URL on first use and add it to the Home screen to easily access the web application login page the next time.Transactions have been tested using:
For more information, consult the Zebra support documentation.
MC33 limitation: On the physical keyboard, it is possible to select the first letter but not the second and the third. To manage that, you need to scan or use the virtual keyboard.


Note: Sage does not provide the devices.
Since release 2023 R1/V12.0.33, you can use Mobile Automation on smartphones, respecting the portable devices configuration described above.
Transactions have been tested using:

Follow these steps to update the Sage X3 Services component:
PS D:\SageX3\x3-services> .\uninstall.ps1Uninstall complete.