
Processes
A process is a chart that you use to:
- Describe a specific flow involving Sage X3 functions.
- Provide direct links to access these functions.
You use this function to create your process, using a visual editor.
You must then link your process either to:
- A landing page gadget
- A process menu

Prerequisites
Refer to documentation Implementation
Screen management
Header
Fields
The following fields are present on this tab :
| Code identifying the process. |
| Legislation code associated with the process. |
| Language used in the process. |
| Use this field to assign a description to each record. |
Close
Tab Description
Fields
The following fields are present on this tab :
Block number 1
| Type of process:
|
| Enter an access code for the selected screen field, if needed. |
|
|
Description
| Description of the process in HTML format. |
Close
Tab Drawing
Presentation
Visual editor for processes
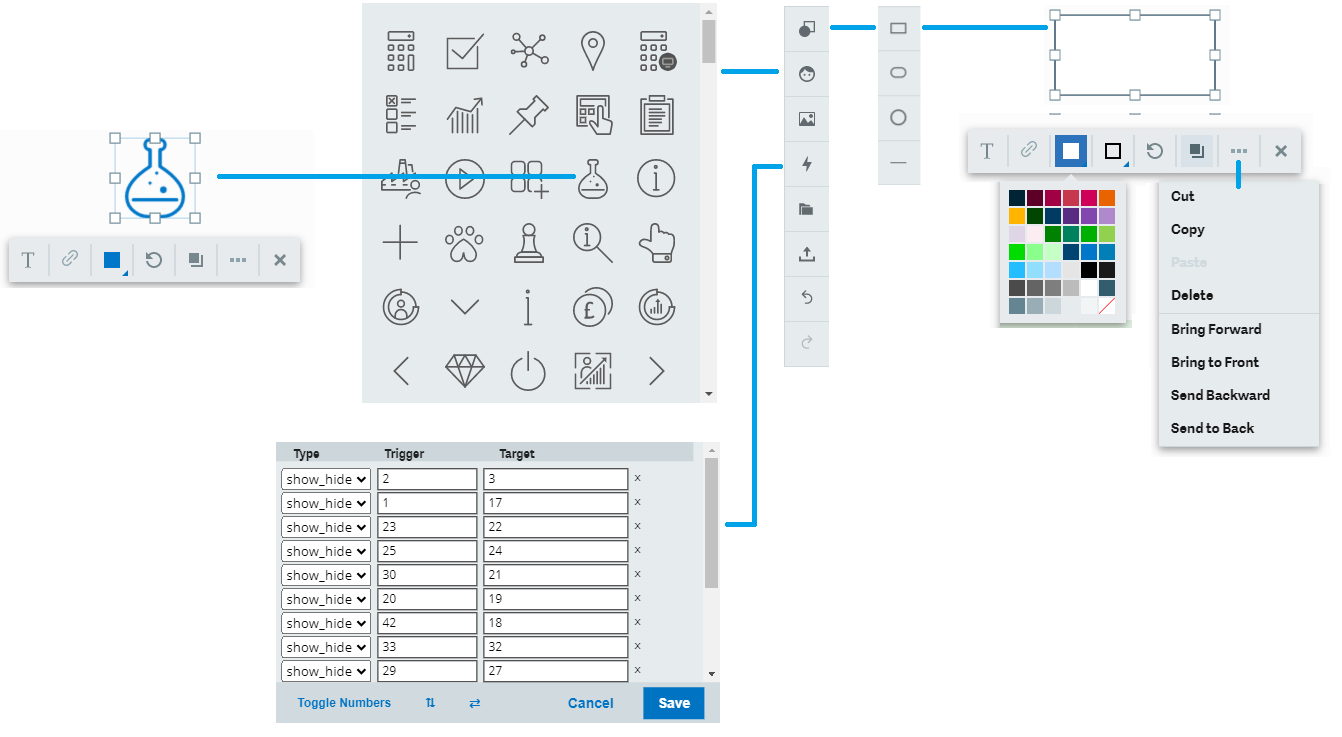
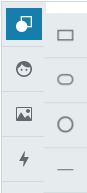
Shapes
Click the  button to add a shape to your process.
You can add:
- A rectangle
- An ellipse
- A circle
- A line
Once a shape has been added to your process, you can change its size using the handles displayed on its borders.
This toolbar is displayed when you select a shape:

From this toolbar, you can:
| Actions | Images |
|---|---|
Select the filling color of the shape. |
|
Select:
You can add arrows, bullets, and diamonds at the beginning or end of lines. |
|
Rotate the shape counter-clockwise by 45 degrees. |
|
Duplicate a shape. |
|
Double-click the shape to insert a text. |
|
Format your text by choosing:
|
|
Add a hyperlink. |
|
Right-click the shape or click
|
|


Managing multiple shapes
To group shapes, press Shift and select the items that you want to group. Then click the  button. Ungroup shapes by clicking the
  button. You can also do these actions between existing groups. For example, to add another element to a group.
Like for single shapes, you can perform the different actions available via the  button. Press Shift and select the concerned shapes before.
You can also move, resize, and color groups uniformly.
Dynamic alignment guidelines help align your elements properly when moving them around the canvas.
Icons
Click the  button to display the list of available icons. Once an icon has been added to your process, you can do the same changes as for shapes (size, color, rotation, group, and so on).

Upload image
Click the  button to upload an image from your PC to your visual process. Once an image has been added to your process, you can make some of the changes possible for shapes (size, link, rotation, and so on).

Actions
Click the  button to display the Actions panel.
Click Toggle numbers to show or hide your trigger and target actions' overlay numbers.
Click the Up and down and Left and right arrow icons to move the Actions panel around the canvas.
Click the cross at the right of a row to remove the action.

Import
Click the  button to replace your visual process with one from an existing JSON file.
Export
Click the  button to save your visual process into a JSON file.
Undo
Click the  button to undo your previous change.
Redo
Click the  button to restore a change you previously undid.
Fields
The following fields are present on this tab :
Block number 1
| Select a module for the setup. Use this field to specify if the screen has to be created in the folder database. This is the case when the module linked to the screen is active on the folder. |
Block number 2
| Visual editor for processes. Refer to the online help on the Drawing section for more information on this editor. |
Design and use tips
- Group the objects to be moved together in order to maintain the page layout.
- A text area, for example Follow the guide, can be used to briefly describe the process and related functions.
Specific actions
Click this action to import a process. |
Click this action to save the changes applied to a process. |
Click this action to copy the process from your folder to another folder. |
Actions menu
Documentation / Paragraphs
This menu item allows access to the documentation management on the first paragraph of the documentation (if there is one) associated with the current record.
Documentation / Links
This menu item allows access to link management. It is used to define the links between the current record and other records (for example, the links between functions and parameters). These links are specific to the documentation and are used to load the generation of documentation structures.
Documentation / Generation
This menu item launches a documentation generation. You can also launch it from the Generation button at the bottom of the screen.
You can launch three types of generation one by one or simultaneously
- The generation of the documentation structure from the dictionary (ADOCUMENT, ADOCBLB, and ADOCCLB tables)
- The generation of the documentation from the previous tables
- The generation of the field documentation
The range suggested by default takes into account the current record, but you can modify it at launch time.