MongoDB Installation Procedure
Caution: Take note of the MongoDB server name and the corresponding port number. Make sure you can access this information when you launch the V12 web server installation.
Full installation
Perform a full installation:
- If you are installing the platform on a server for the first time
- If you want to switch from a manual installation (done in 7.0) to an automatic installation.
- If you want to switch from an installation done in 8.0 to an installation that manages security through certificates.
To do so:
- Double-click the ".jar" file in the MongoDB folder.
- Select the installation language and click OK.

- Click Next.

- Click Next.

- Select I accept the terms of this license agreement and click Next.

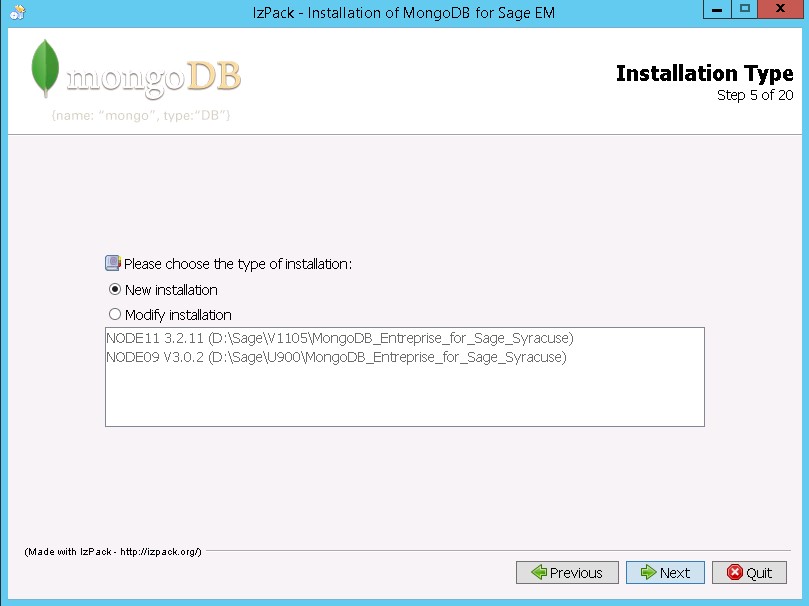
- Select New installation and click Next.
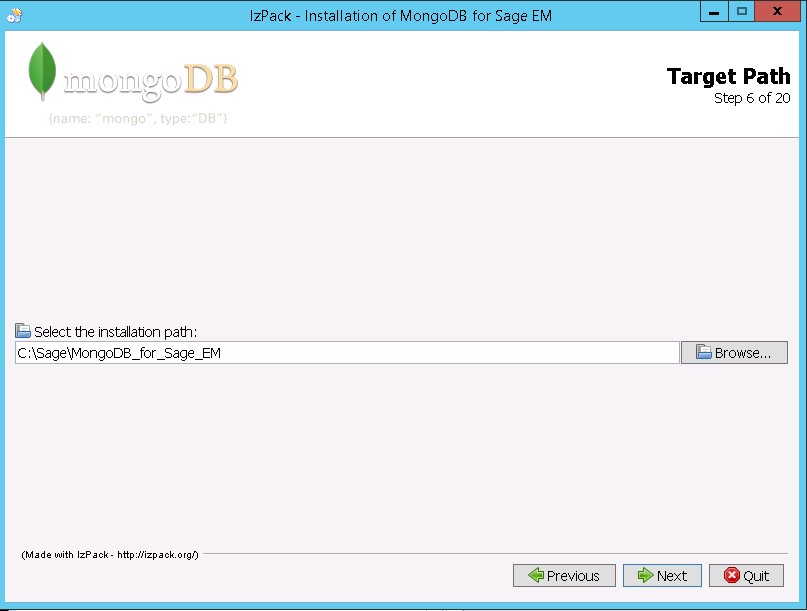
- Select the installation path by clicking Browse and click Next.
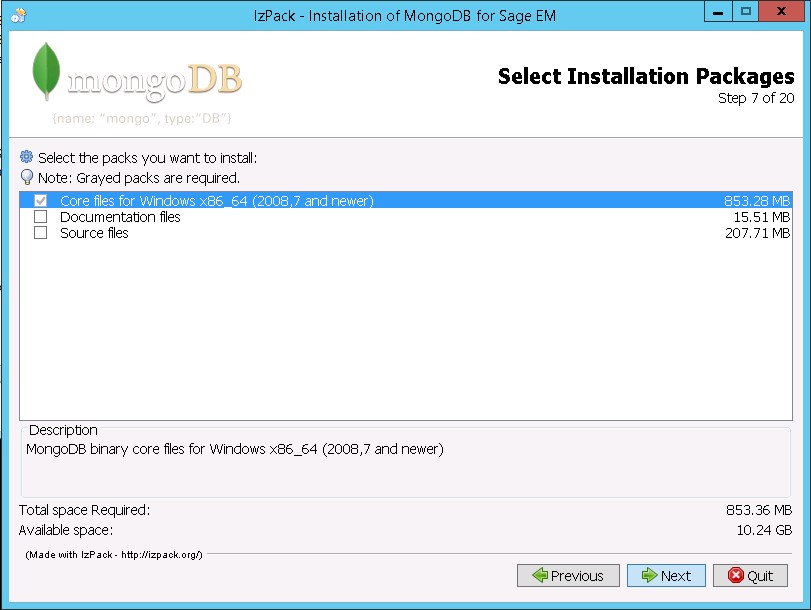
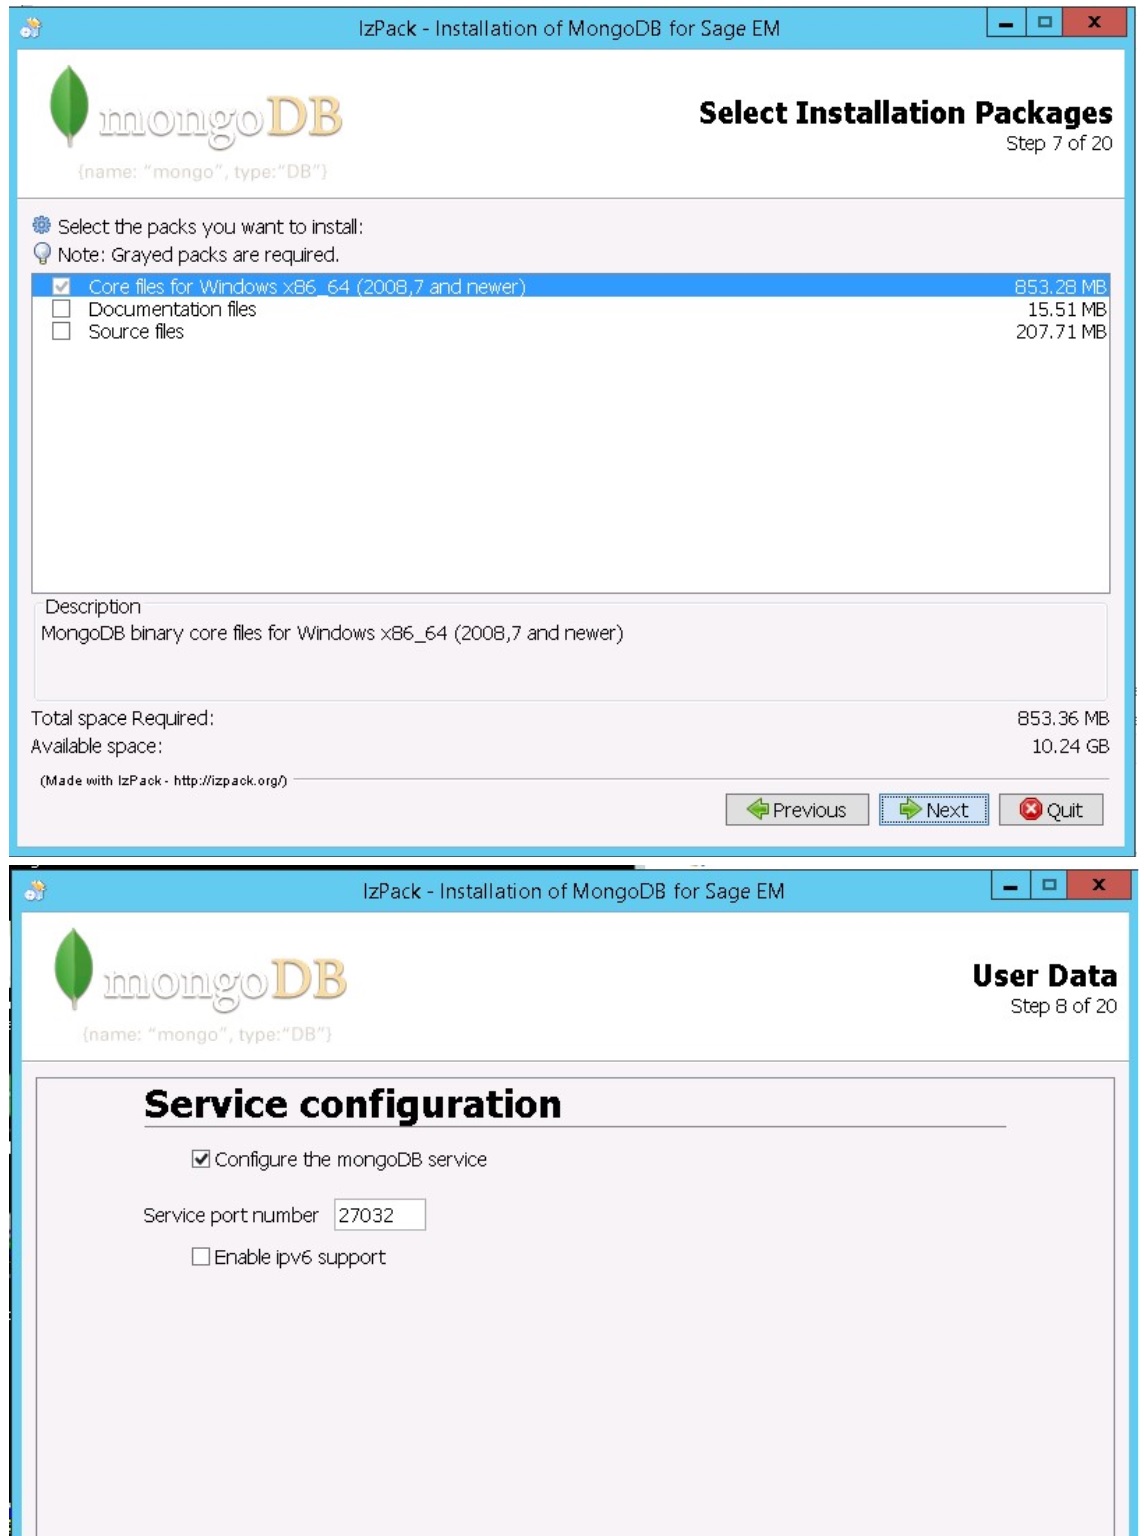
- Select the packages to install and click Next.
Only the core files package is mandatory.
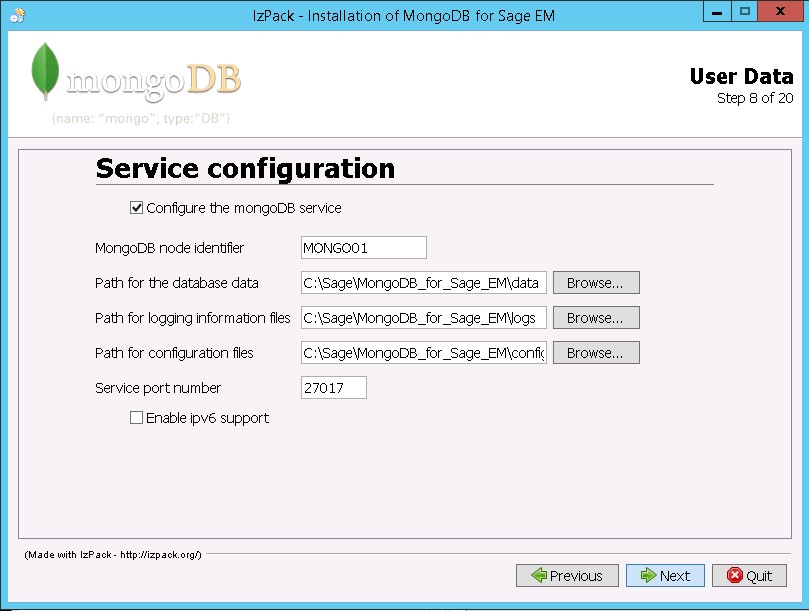
- (Recommended) Select the Configure the mongoDB service checkbox and enter:
- The MongoDB node identifier (must be unique on a server).
- The paths for the database data, the logging information files and the configuration files.
- The service port number used to connect to MongoDB (27017 by default).
Select the Enable ipv6 support checkbox if applicable.
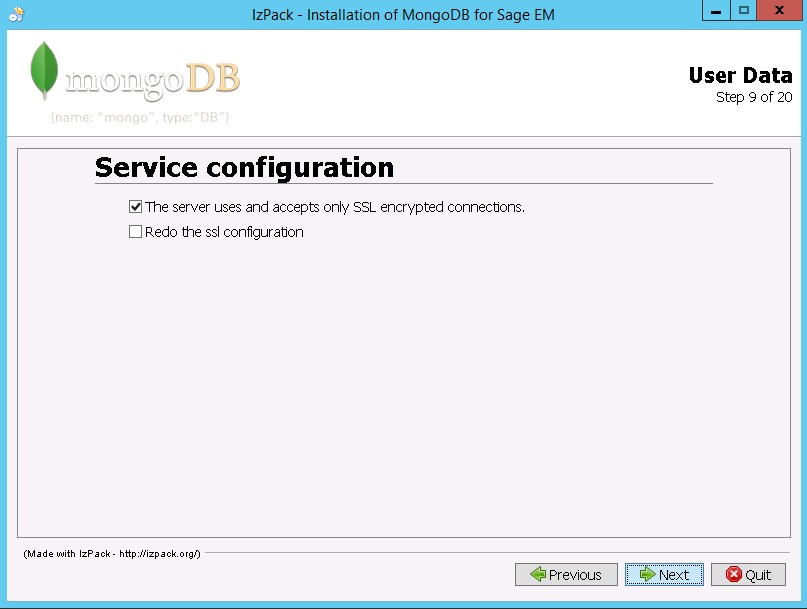
- Select The server uses and accepts only SSL encrypted connections if applicable.
- If you have not selected this check box, click Next.
- If you have selected this checkbox, select the path for certificates storage and choose between Simplified certificate installation and Use an existing certificate.
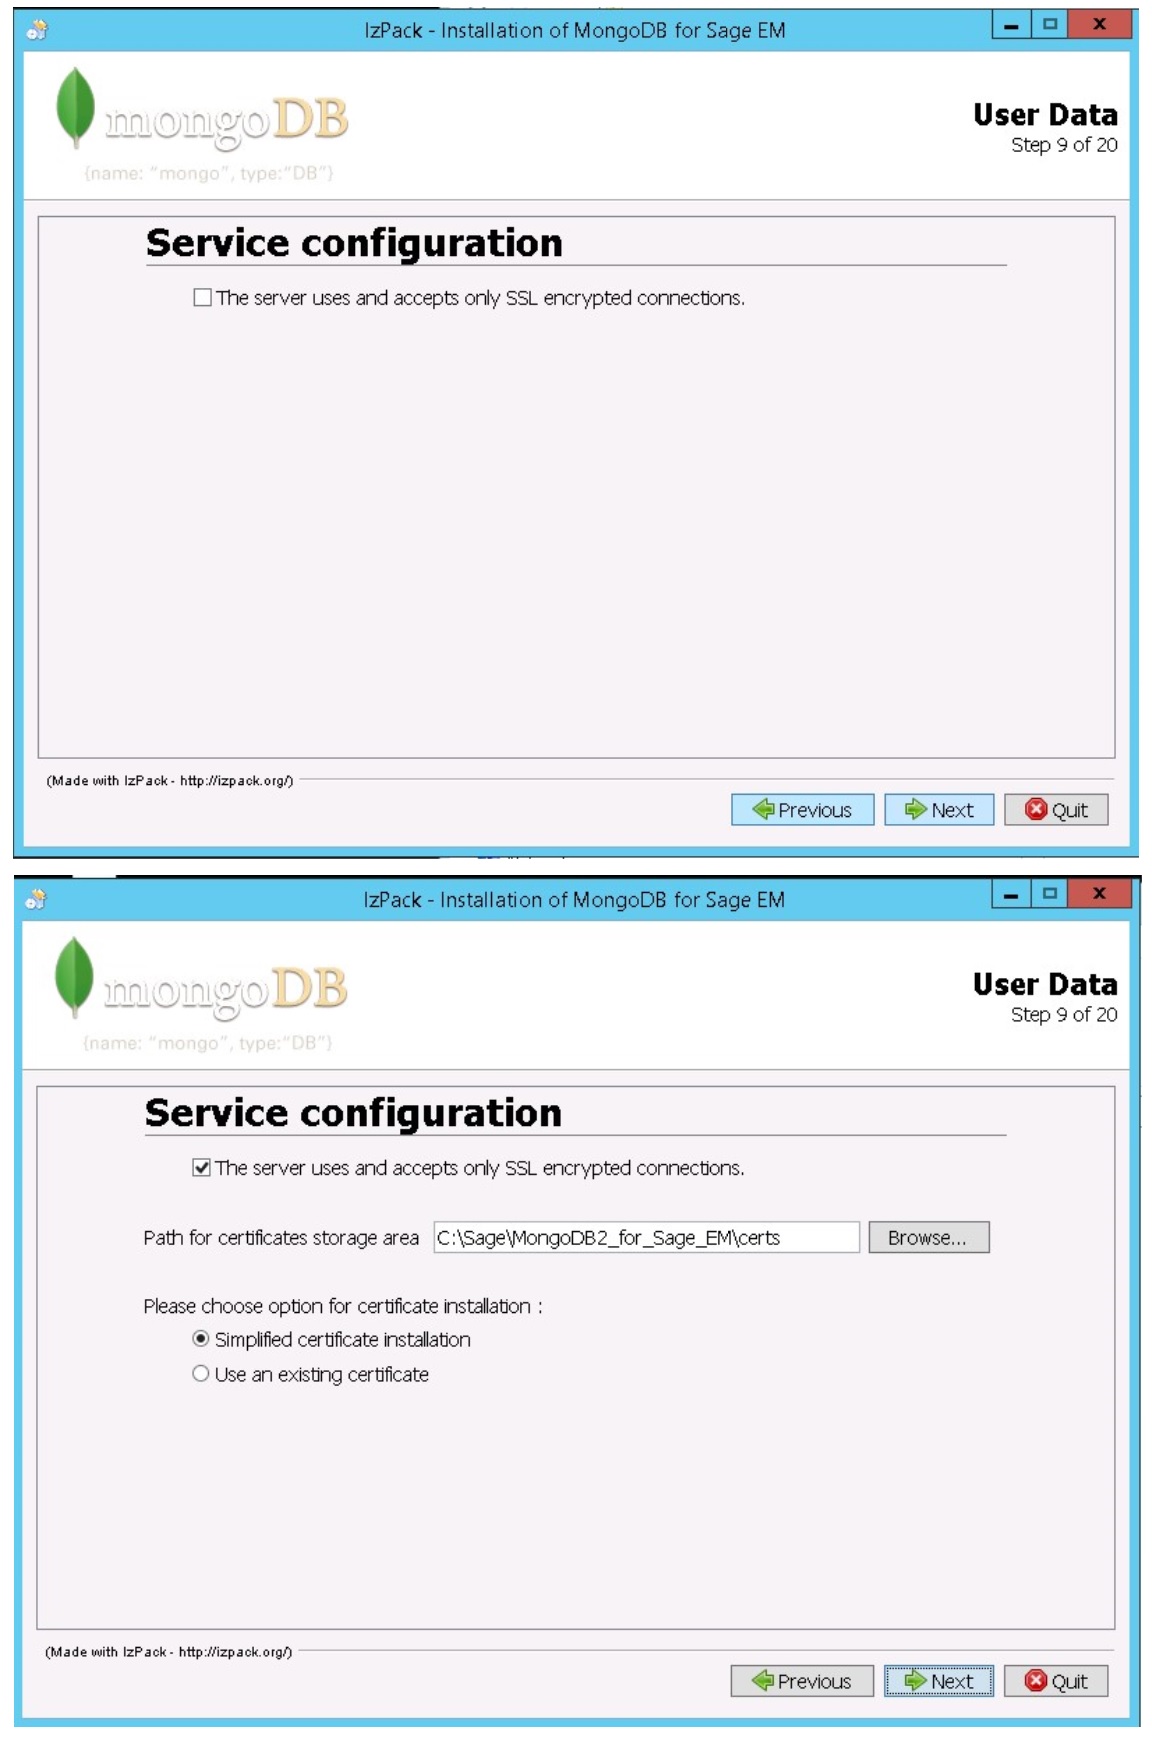
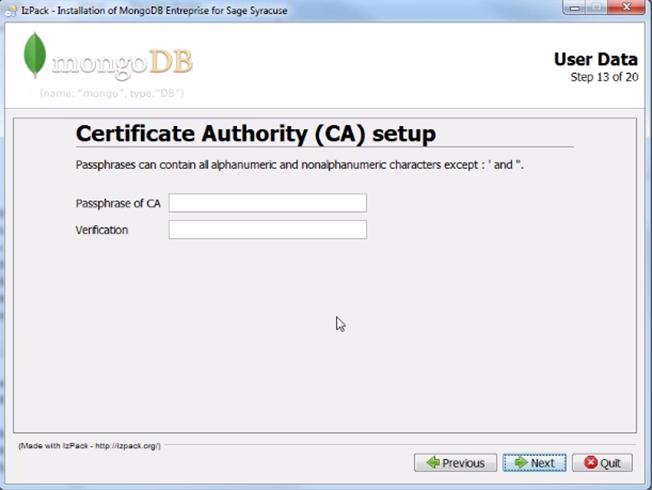
- If you have selected Simplified certificate installation, enter the passphrase for the master certificate twice and click Next.
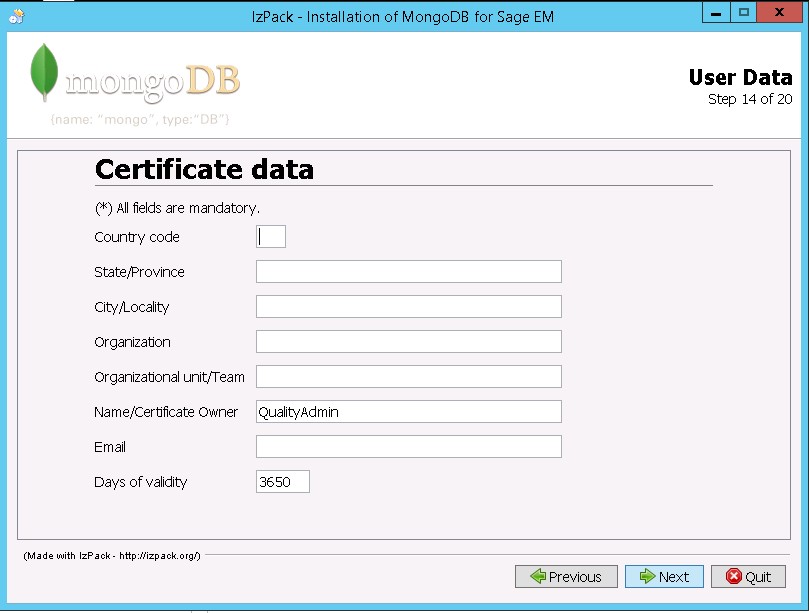
- Enter the information that defines the certificate and click Next.
- Enter the passphrase for the connection certificate twice and then the host name. Click Next.
Make sure you enter the full server path, including the full qualified domain name.

- Select Import and initialize db with data from another instance if applicable.
- If you have not selected this check box, click Next.
- If you have selected this checkbox, enter the host name and the port corresponding to the location of the existing instance.

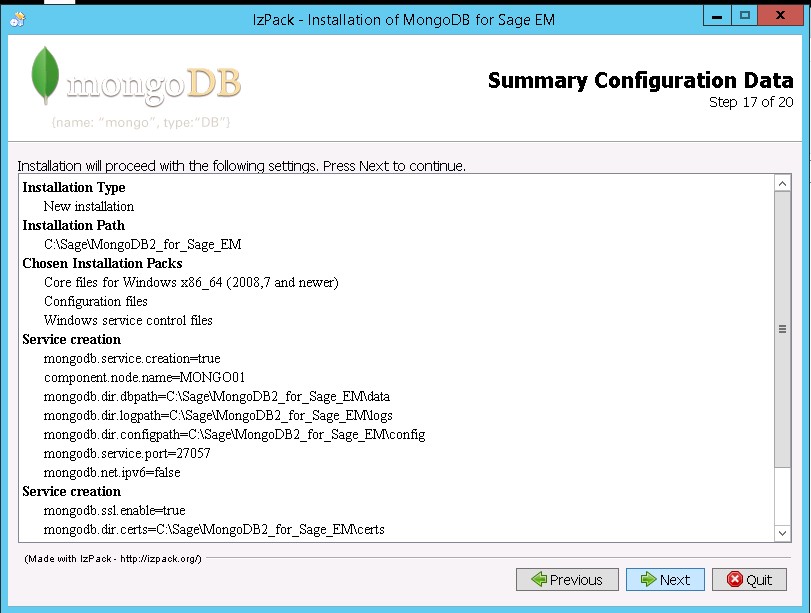
- Carefully check the options selected and go back if anything was incorrectly entered.
Click Next when everything is OK.
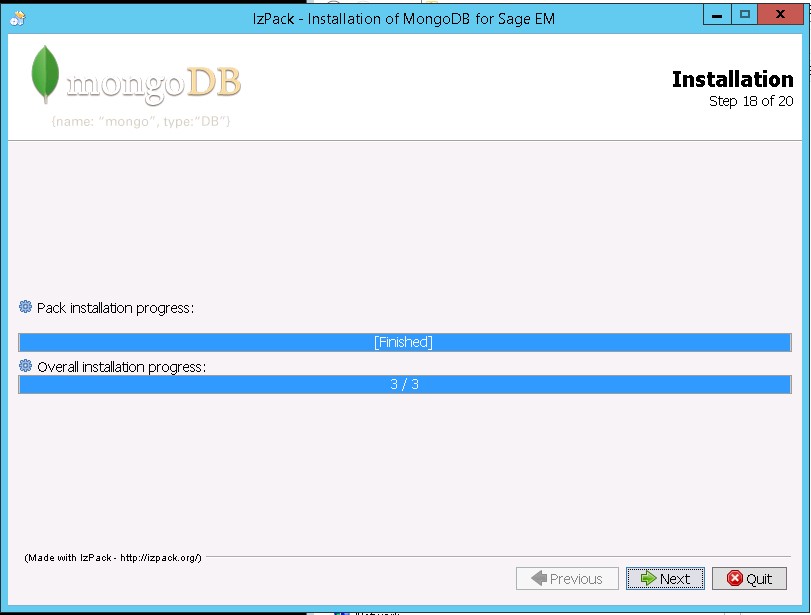
- Click Next at the end of the installation.
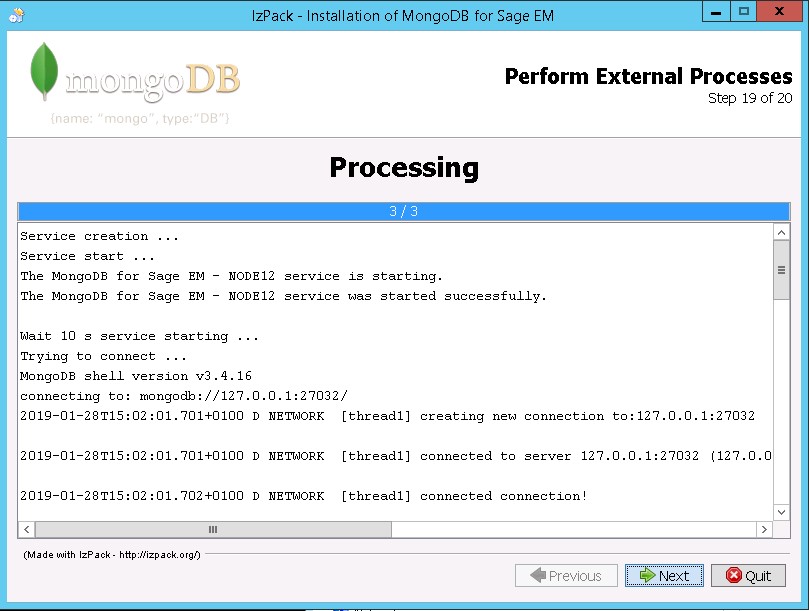
- Click Next at the end of the connectivity test.
- Click Generate an automatic installation script if applicable.
This script is an XML file that stores the settings from the previous dialog boxes. It can be modified and reused in order to run a setup automatically, for example on another server.
To automatically run an installation script associated with an XML answer file, run the following command (in a shell with the path to java.exe set and setup.jar accessible):
java -jar setup.jar file_name.xml
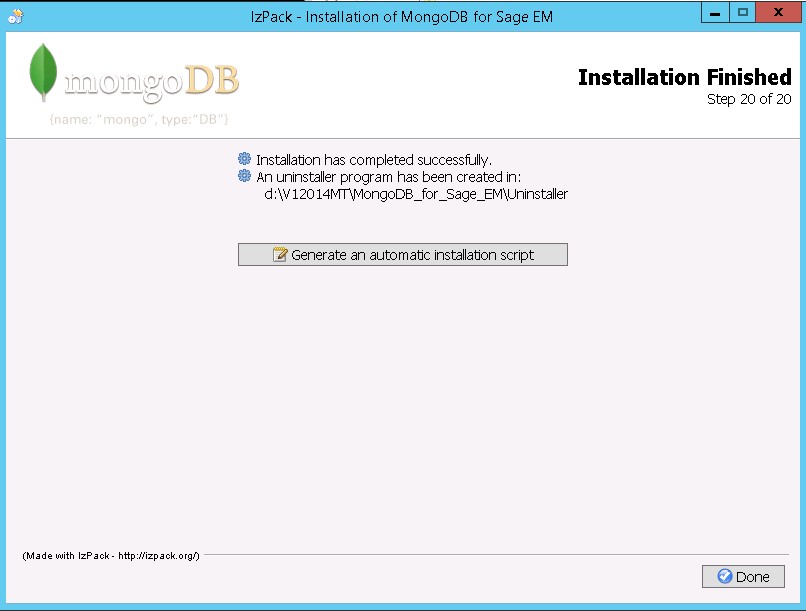
- Click Done.
Re-installation
To reinstall MongoDB:
- Double-click the ".jar" file in the MongoDB folder.
- Select the installation language and click OK.
- Click Next.
- Click Next.
- Select I accept the terms of this license agreement and click Next.
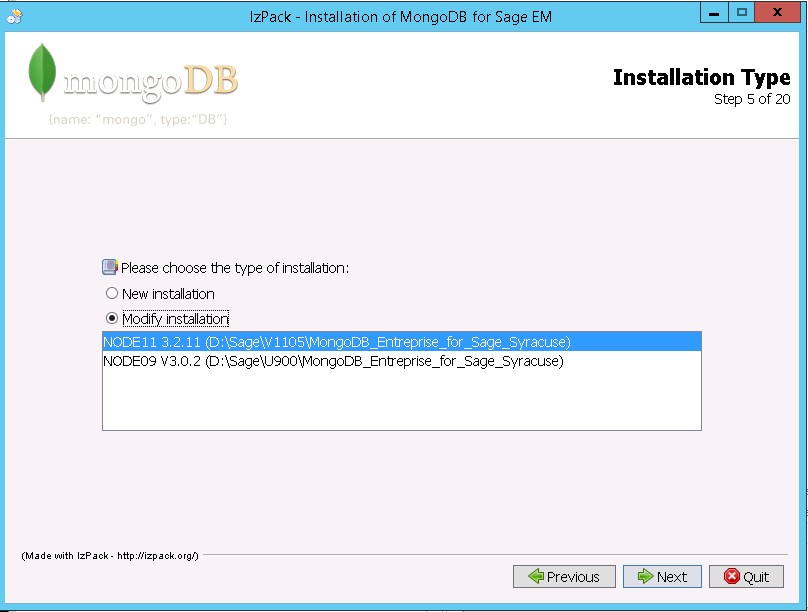
- Select Modify installation and click Next.
- Modify the configuration if required. Click Next.
- Modify the configuration if required. Click Next.
- If you have selected Simplified certificate installation, enter the passphrase for the master certificate twice and click Next.
- Enter the information that defines the certificate and click Next.
- Enter the passphrase for the connection certificate twice and then the host name. Click Next.
Make sure you enter the full server path, including the full qualified domain name.
- Select Import and initialize db with data from another instance if applicable.
- If you have not selected this check box, click Next.
- If you have selected this checkbox, enter the host name and the port corresponding to the location of the existing instance.
- Carefully check the options selected and go back if anything was incorrectly entered.
Click Next when everything is OK.
- Click Next at the end of the installation.
- Click Next at the end of the connectivity test.
- Click Generate an automatic installation script if applicable.
This script is an XML file that stores the settings from the previous dialog boxes. It can be modified and reused in order to run a setup automatically, for example on another server.
To automatically run an installation script associated with an XML answer file, run the following command (in a shell with the path to java.exe set and setup.jar accessible):
java -jar setup.jar file_name.xml
- Click Done.